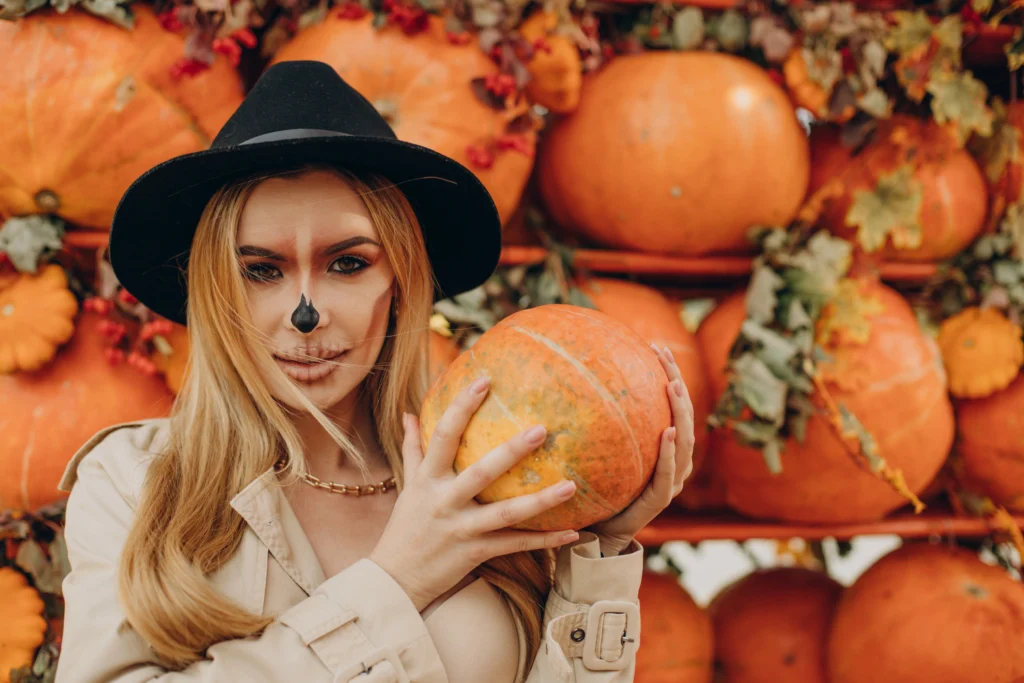
There’s a special kind of excitement that comes with carving a pumpkin. Maybe it’s the crisp bite in the autumn air, the warm glow of porch lights, or the anticipation of creating something that feels both festive and personal. You might remember your first carving experience — scooping out the seeds with your hands, laughing at the mess, and feeling proud once your jack-o’-lantern finally lit up. That feeling never really leaves you. And believe it or not, choosing the best pumpkins for carving is what makes that magic possible.
When you pick the right pumpkin, carving becomes easier, cleaner, and so much more enjoyable. With the perfect shape, the right texture, and the right tools, you can transform a simple pumpkin into something that feels like a little work of art. This guide helps you understand how to choose the best pumpkins for carving and which tools will help you bring your ideas to life — whether you’re carving for fun, teaching kids, or decorating for a big Halloween display.
What Makes the Best Pumpkins for Carving? Key Qualities to Look For
When you start searching for pumpkins, it helps to know exactly what separates an “okay” pumpkin from an excellent carving pumpkin. Pumpkins aren’t all the same, and choosing wisely saves you time, frustration, and broken carving tools.
1. Shape That Supports Your Design
Look for a pumpkin that’s round or slightly oval. These shapes give you a more even surface to work with. Slightly taller pumpkins are great for portrait-style faces, while wide pumpkins work well for classic jack-o’-lantern smiles.
Pro tip: Avoid pumpkins with one noticeably flat or dented side unless you plan to carve around it.
2. Smooth Skin Makes Carving Easier
A smooth surface means fewer bumps fighting against your knife. You’ll get cleaner lines, especially if you’re carving detailed patterns.
3. A Sturdy Stem Signals Freshness
A healthy pumpkin always has a firm, greenish stem. Dry, brittle stems usually mean the pumpkin is already losing moisture — which leads to faster rotting.
4. The “Hollow Sound” Test
Tap your pumpkin gently with your knuckles. If it sounds hollow, that’s a good sign. Hollow pumpkins have thinner walls, making carving easier and faster.
5. Weight vs. Size Balance
Two pumpkins may look the same size, but one feels heavier. The heavier one likely has thicker walls, which can be harder to carve. A pumpkin with a lighter feel for its size is perfect for both beginners and advanced carvers.
6. A Flat Bottom Is a Must
A pumpkin that wobbles becomes a nightmare to carve — and dangerous. Make sure it sits firmly on a flat surface before buying it.
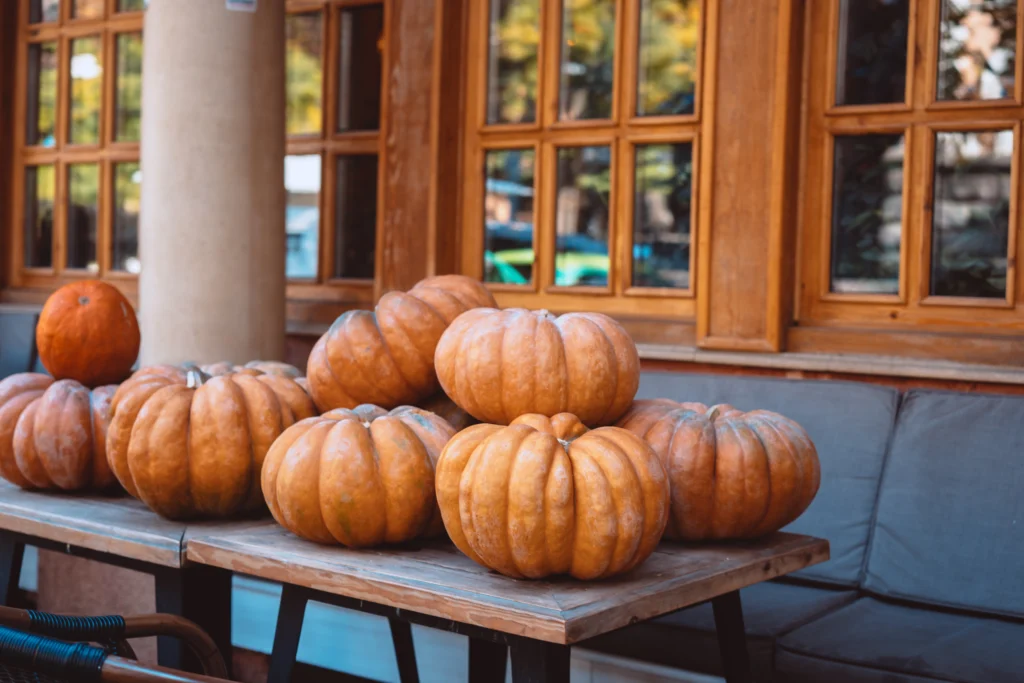
Types of Pumpkins That Are Best for Carving
Not every pumpkin variety is built for carving. Some are meant for cooking, some for decoration, and others are perfect for transforming into glowing jack-o’-lanterns.
Here are the varieties you’ll want to look for when searching for the best pumpkins for carving.
The Classic “Jack-O’-Lantern” Pumpkin
These are the most common pumpkins you’ll see at stores and farms. They’re medium to large, have bright orange skin, and offer the perfect balance between thickness and carve-ability.
They’re ideal for:
- Kids
- Beginners
- Traditional designs
Howden Pumpkins
These are the gold standard for carving. Many pumpkin patches grow Howdens specifically for jack-o’-lantern displays.
Why people love them:
- Symmetrical shape
- Strong stem
- Thick but workable walls
- Consistent color
Autumn Gold Pumpkins
These pumpkins have an extra-bright color that photographs beautifully. If you plan to take pictures of your pumpkin for social media, this variety is a great choice.
Cinderella & Fairytale Pumpkins
You’ll recognize these by their unique shape — flatter, wider, and more textured. They’re not always the first choice for traditional carving because of their thickness, but if you’re carving a 3D design or want something artistic, they can be stunning.
How to Select the Best Pumpkin at the Store or Pumpkin Patch
Once you’re standing in front of a huge pile of pumpkins, choosing just one can feel overwhelming. Here’s a simple checklist you can use to pick your winner every time.
Pumpkin Selection Checklist
- Check for soft spots
If the pumpkin feels mushy anywhere, skip it. Softness means decay has started. - Examine the stem
A healthy stem = a healthy pumpkin. Avoid pumpkins missing stems. - Look for even coloring
Pale patches can mean the pumpkin wasn’t fully ripened. - Test for wobbling
Set it down — if it rocks, it’ll rock on your porch too. - Listen to the hollow sound
Hollow pumpkins are easier to carve and lighter to carry. - Avoid hairline cracks
Cracks grow fast and can ruin your design.
Common Mistakes Buyers Make
- Picking the biggest pumpkin without considering the carving difficulty
- Ignoring bruises because they’re “small”
- Choosing pumpkins with thin, weak stems
Take your time during selection — one extra minute at the store saves you from a mess later.

The Best Tools for Pumpkin Carving
If you’ve ever tried carving a pumpkin with a kitchen knife, you already know the struggle: jagged lines, broken blades, and frustration that ruins the fun. The right tools don’t just make carving easier — they make it safer, cleaner, and far more creative. Once you use proper pumpkin-carving tools, you’ll never go back.
Below are the tools you should have ready before you begin carving.
Essential Pumpkin Carving Tools You Need
1. Serrated Carving Knife
A serrated carving knife is the heart of every successful pumpkin design. It allows you to cut through the pumpkin’s outer shell without slipping. Short, fine-toothed blades work best for stability and precision.
2. Pumpkin Scoop or Scraper
This is what makes pumpkin prep fast and efficient. A strong scoop helps you clean out the seeds and pulp quickly while leveling the inner walls. For detailed carving, thinner walls (around 1 inch thick) make all the difference.
3. Detailing Saws for Designs
These tools look small, but they’re powerful. They help you create clean, sharp lines for:
- Eyes
- Teeth
- Shapes
- Detailed patterns
They’re especially useful for angles and curves that a bigger knife can’t handle.
4. Etching Tools
Etching tools create surface-level designs that glow softly once the pumpkin is lit from inside. They’re perfect for advanced designs, shading effects, and artistic patterns.
5. Push-Pin or Poking Tool
This tool helps you outline your design by creating tiny dots that guide your cutting strokes. If you’re using a printed stencil, this is essential.
6. LED Candles
Real candles are classic, but they can cause pumpkins to dry faster. LED lights keep your design bright and glowing longer — and they’re safer around kids.
Professional-Grade Tools for Advanced Carving
If you want to elevate your carving beyond the usual jack-o’-lantern, consider upgrading to advanced tools. These take your designs from fun to impressive.
Linoleum Cutters
These allow you to carve with precision, especially for shading or peeling thin layers of skin from the pumpkin.
Clay Sculpting Knives
Sculpting knives give you stunning 3D effects and let you shape fine details like wrinkles, hair textures, or expressive facial features.
Battery-Powered Carving Tools
If you love speed and smooth lines, battery-powered tools help you cut through tough pumpkin skin effortlessly. They’re great for large designs or thick-walled pumpkins.
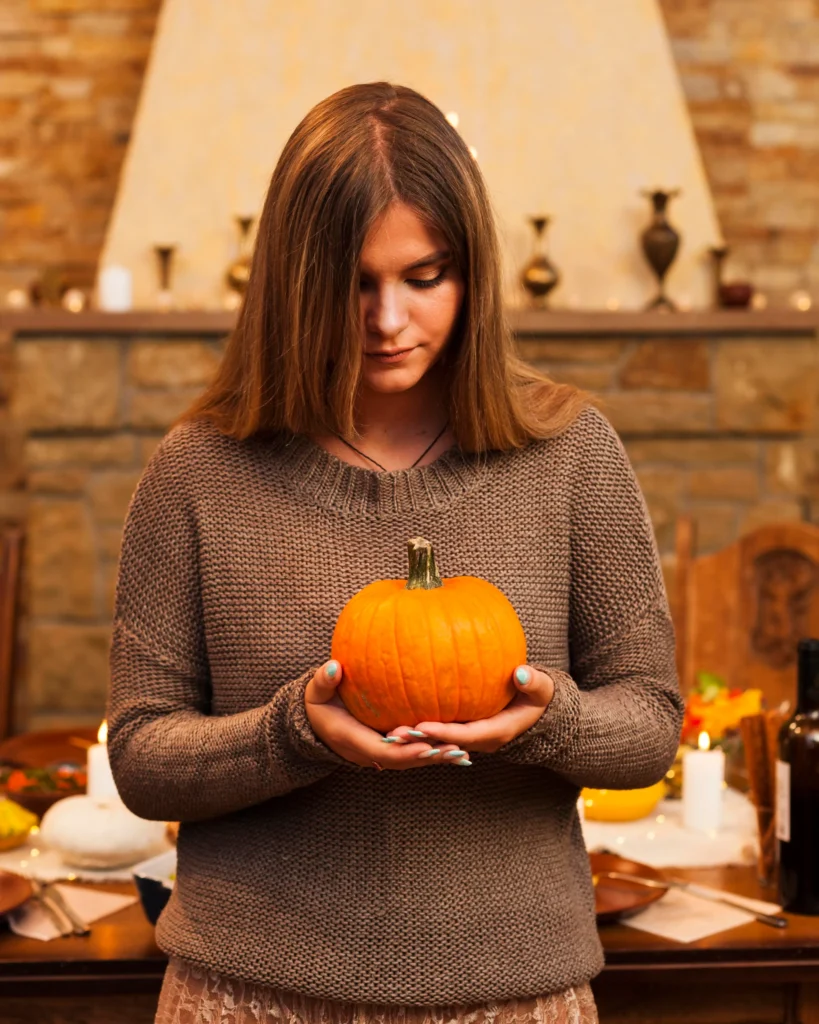
How to Prepare Your Pumpkin Before Carving
Carving becomes much easier when your pumpkin is properly prepared. Many people skip this part, but it’s the foundation for every perfect jack-o’-lantern.
Here’s how to prep your pumpkin like a pro.
1. Cut the Lid at an Angle
Start by cutting out your lid (or the base, if you prefer). Make your cut at about a 45° angle, tilting inward. This angle prevents the lid from falling into the pumpkin as it dries — a common issue beginners face.
If you’re cutting the bottom instead:
- The pumpkin stays stable
- The heat from candles escapes naturally
- You can place the pumpkin over the light source instead of lowering a candle inside
Both methods work well, so it depends on your preference.
2. Remove Seeds and Pulp Thoroughly
Use a sturdy scoop or scraper to clean out the insides. You want the walls to be:
- Smooth
- Even
- No thicker than 1 inch
Thinner walls make carving easier and help light shine through better.
Bonus: Save the seeds — they taste amazing roasted with a little salt, butter, or cinnamon sugar.
3. Dry the Interior
Moisture makes pumpkins rot faster, so dry every part of the inside with paper towels. This step slows down the aging process and helps your carving last longer.
4. Transfer Your Design
If you’re using a stencil:
- Tape it to the pumpkin surface.
- Use a poking tool to create a dotted outline.
- Remove the stencil.
- Begin carving along your dotted marks.
If you’re freehanding your design, use a washable marker or dry-erase pen to sketch lightly. You can wipe and adjust until you’re satisfied.
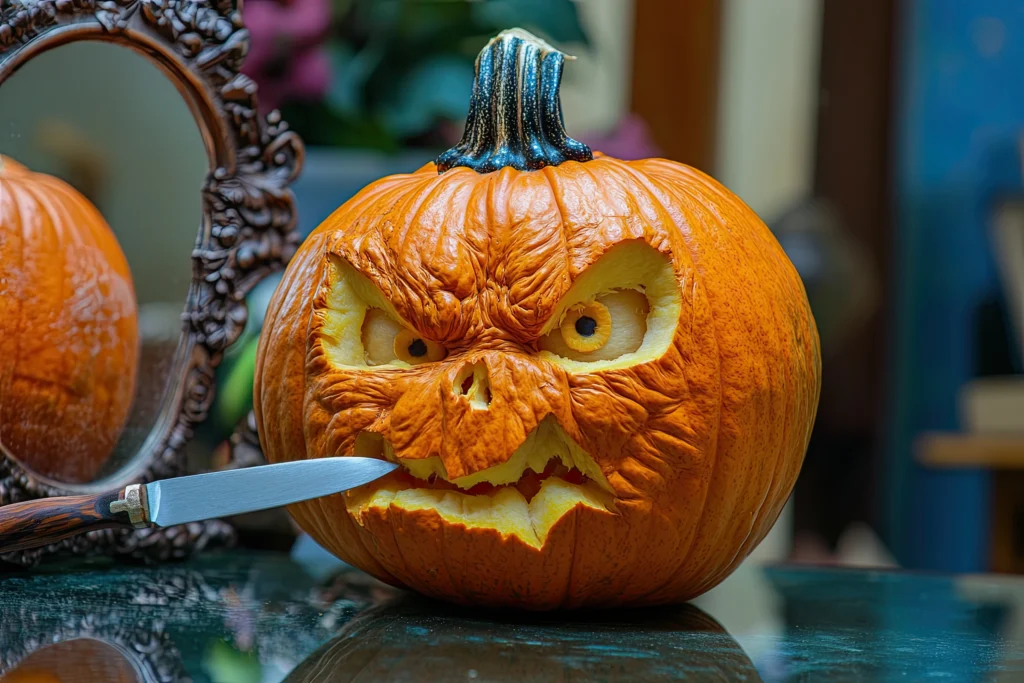
Carving Techniques for Beginners & Experts
Whether this is your first pumpkin or your twentieth, understanding a few techniques makes your carving look sharp, clean, and professional.
Pumpkin Carving Tips for Beginners
1. Start with Simple Shapes
You don’t need a complex pattern for your pumpkin to stand out. Simple designs like triangles, circles, or classic jack-o’-lantern faces can be incredibly charming.
2. Cut Slowly and Gently
Pumpkins aren’t soft. If you push too hard or rush your cuts, the pumpkin may crack. Use slow, controlled strokes and let the tool do the work.
3. Cut from the Inside Out
Once you complete a shape, gently push it inward before removing it. This prevents tearing and leaves crisp edges.
4. Keep Your Hands Dry
Dry hands = better grip = fewer carving accidents.
Advanced Pumpkin Carving Techniques
If you’ve mastered the basics, try these creative approaches.
1. Shaving & Etching Layers
Instead of cutting all the way through the pumpkin, carve away just the outer skin or thin layers beneath it. This creates:
- Shadows
- Highlights
- Glowing gradients
These designs look incredible when backlit.
2. 3D Sculpting
Using sculpting knives or linoleum tools, you can create raised designs that pop out of the pumpkin. This technique transforms the pumpkin into a sculpture rather than a lantern.
3. Varying Depth for Glow Effects
Cut deeper in some areas and shallower in others to create multi-layer light effects. This adds a professional touch that’s perfect for competitions or displays.

How to Make Your Carved Pumpkin Last Longer
Once you’ve put effort into carving your pumpkin, you want it to last as long as possible — especially if you’re preparing for a big event or holiday display. Pumpkins naturally break down quickly, but with the right care, you can extend their life and keep them looking fresh.
Below are methods that genuinely work and that you can use instantly at home.
1. Coat the Cut Edges with Petroleum Jelly
Petroleum jelly seals in moisture and slows down the drying process. Apply a thin layer to:
- Eyes
- Mouth
- Nose
- Any cut or carved edges
This helps your design stay crisp and prevents premature shriveling.
2. Keep the Pumpkin Cool and Out of Direct Sun
Pumpkins react badly to heat. The more time your pumpkin spends in a cool, shaded area, the longer it lasts. Direct sunlight accelerates rotting and causes sagging.
3. Use a Bleach or Vinegar Bath
These treatments help kill bacteria that cause pumpkins to mold.
Bleach Method:
Mix:
- 1 tablespoon of bleach
- 1 gallon of water
Soak your pumpkin for 10 minutes.
Vinegar Method (kid-safe, chemical-free):
Mix:
- 1 part vinegar
- 10 parts water
Soak for 10 minutes.
Both methods help delay soft spots and mold growth, keeping your pumpkin looking sharp.
4. Refrigerate Overnight
If your pumpkin sits indoors, placing it in the refrigerator at night keeps it hydrated and firm. This is especially helpful if you carved your pumpkin a few days before Halloween or before hosting a party.
5. Use Silica Gel or Salt Inside the Pumpkin
Placing silica gel packets or a sprinkle of salt inside the pumpkin can help absorb moisture and slow decay. This trick is especially useful in humid climates.
FAQ About Choosing the Best Pumpkins for Carving
This FAQ section answers the questions readers ask most often and includes the primary keyword for SEO purposes.
What Are the Best Pumpkins for Carving?
The best pumpkins for carving are medium to large varieties like Howden, Autumn Gold, and classic Jack-o’-lantern pumpkins. Look for pumpkins with:
- Smooth skin
- Sturdy stems
- Hollow sound
- Even shape
- Flat bottom
These qualities make carving easier and give you better design results.
How Do You Know if a Pumpkin Is Good for Carving?
You know a pumpkin is good for carving when it has a firm, unblemished surface, a fresh-looking stem, and a hollow sound when tapped. The pumpkin should feel lighter than it looks and sit flat on the ground without wobbling.
Which Pumpkin Size Is Best for Beginners?
If you’re new to carving or carving with kids, choose a medium-sized pumpkin. These are easier to handle, simpler to scoop, and perfect for basic designs. Extra-large pumpkins can be harder to clean and cut.
What Tools Do I Need to Carve a Pumpkin Safely?
You’ll need:
- A serrated carving knife
- A scoop or scraper
- Detailing saws
- Etching tools
- Push-pin tool
- LED candle or light
These tools help you carve safely, cleanly, and creatively.
How Long Does a Carved Pumpkin Usually Last?
A carved pumpkin usually lasts 3–7 days, depending on weather and storage conditions. With proper care — like petroleum jelly, bleach treatments, or refrigeration — you can extend its life by several extra days.
Conclusion
Choosing the best pumpkins for carving isn’t just about buying the biggest one you can find — it’s about selecting a pumpkin that feels right in your hands, suits your design, and makes the carving process enjoyable from start to finish. With the right shape, firmness, color, and tools, you have everything you need to create a glowing masterpiece that brings autumn energy straight to your doorstep.
Once you start using the tips in this guide — from picking your pumpkin, to carving with confidence, to preserving it like a pro — you’ll notice how much smoother and more satisfying the whole experience becomes. You’re not just carving a pumpkin. You’re creating a memory, a moment, and a little piece of seasonal magic that makes your home feel warm and alive.
Call to Action
If this guide helped you choose the best pumpkins for carving, share it with someone who loves Halloween as much as you do. And if you want more seasonal guides, creative carving templates, or step-by-step tutorials, feel free to follow, subscribe, or drop a comment — your next spooky creation starts right here.
Table of Contents
Zelda the Movie:What You Need to Know for 2027 – trendsfocus